Guides & brushes
The guide hierarchy and the tools that shape it.
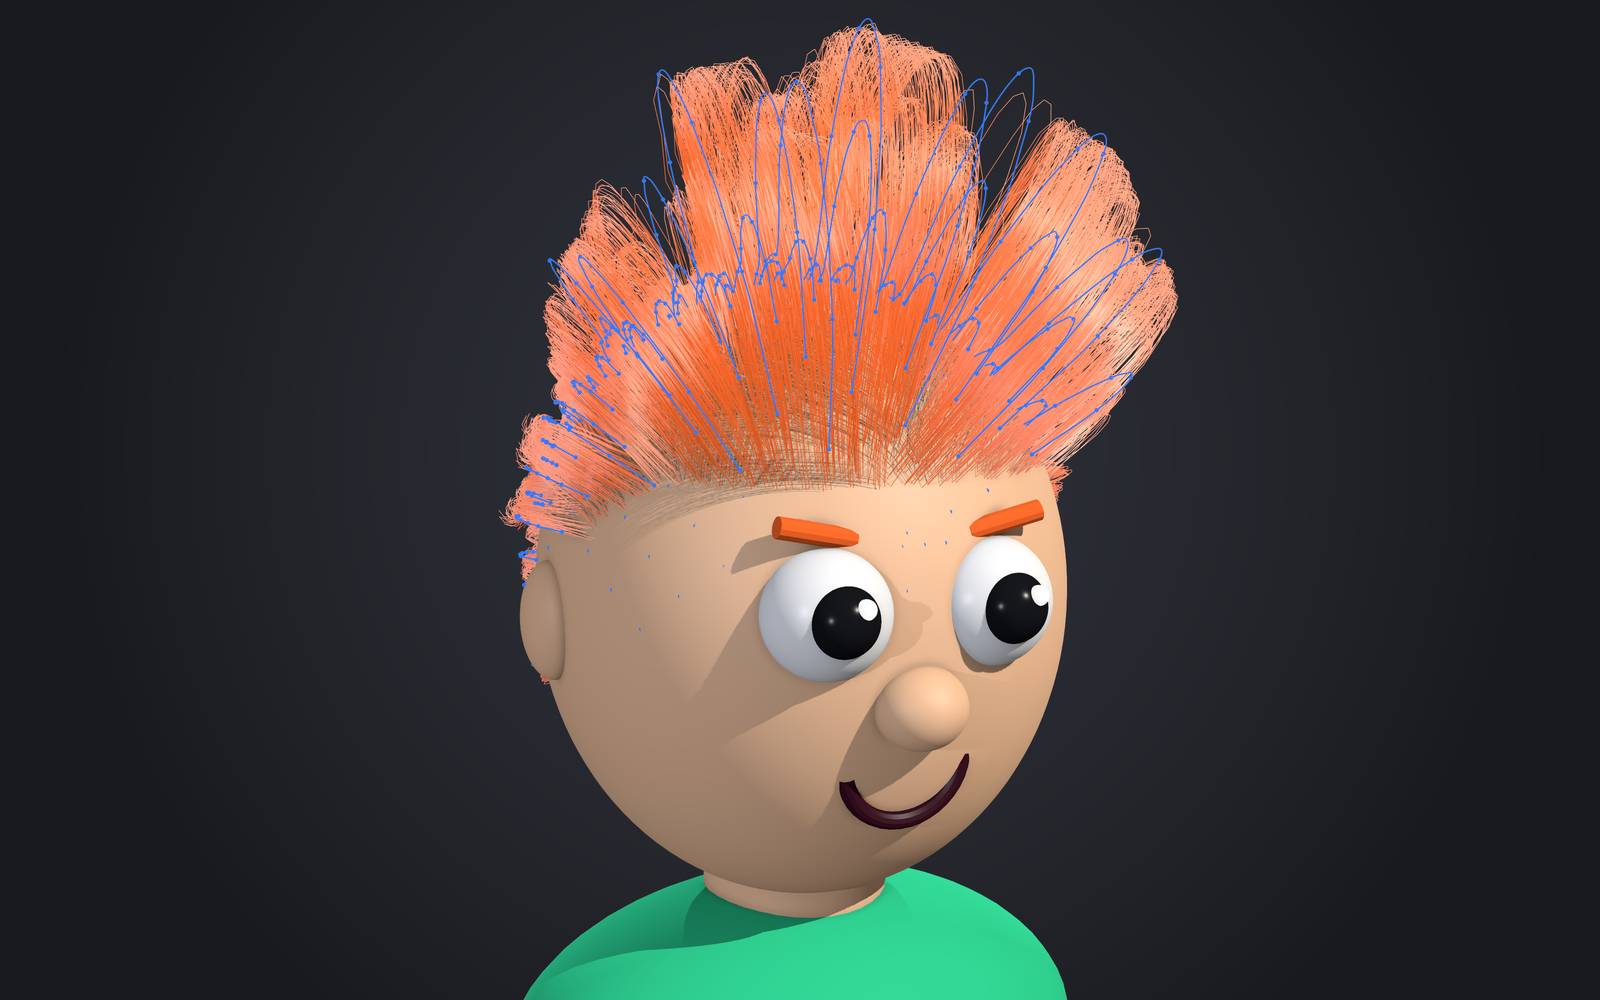
The hierarchy
Primary guides come first, then children generated inside each parent's tube, then grandchildren inside the children's tubes, to any depth. Children store their shape relative to their parent, so editing a parent carries every descendant.
- Generate children: select guides and click Children... (Guide groups & edits). Only those parents get children. Select children and do it again for grandchildren.
- By hand: pick a child group in Group (top of the Groom Tools) and use Place or Draw; each new child follows the nearest parent.
- Groups: guides live in named groups (
primary, child groups,braids). A Guides node in the graph reads them by name. - Restructure: Reparent, Promote and Demote change what a guide follows while keeping its shape.
- Segments: the slider in Groom Tools > Guides shows the selected guides' point count (every guide's with none selected). Drag it to resample them live, release to apply (one undo step). Points follow the smooth curve through the old ones, so bends stay round. Give guides more segments before combing tight curls.
Brushes
Select the groom and pick a tool. Radius is in pixels, strokes are screen-space, and each drag is one undo step.
The tools are the same in Maya and the standalone app, in the same order:
| Group | Tools |
|---|---|
| Create | Place, Draw, Part, Flow |
| Shape | Grab (the main shaping tool), Comb (both with Stretch: lengthens and shortens), Slide, Smooth, Straighten, Lift, Twist, Curl, Attract, Tube |
| Trim | Cut, Length, Erase |
| Paint | Paint (a map), Clump (the clump layer the Clump node reads) |
| Guides | Select, Freeze |
- Ctrl reverses a brush. Shift+drag smooths, whatever the brush. Shift+click a guide to brush its level.
- Pen pressure scales strength on a tablet.
- Hotkeys: GroomLab > Install GroomLab Hotkeys. Y + click opens a marking menu; Page Up and Page Down step the brushed level.
- Freeze paints a mask brushes leave alone; frozen guides draw blue.
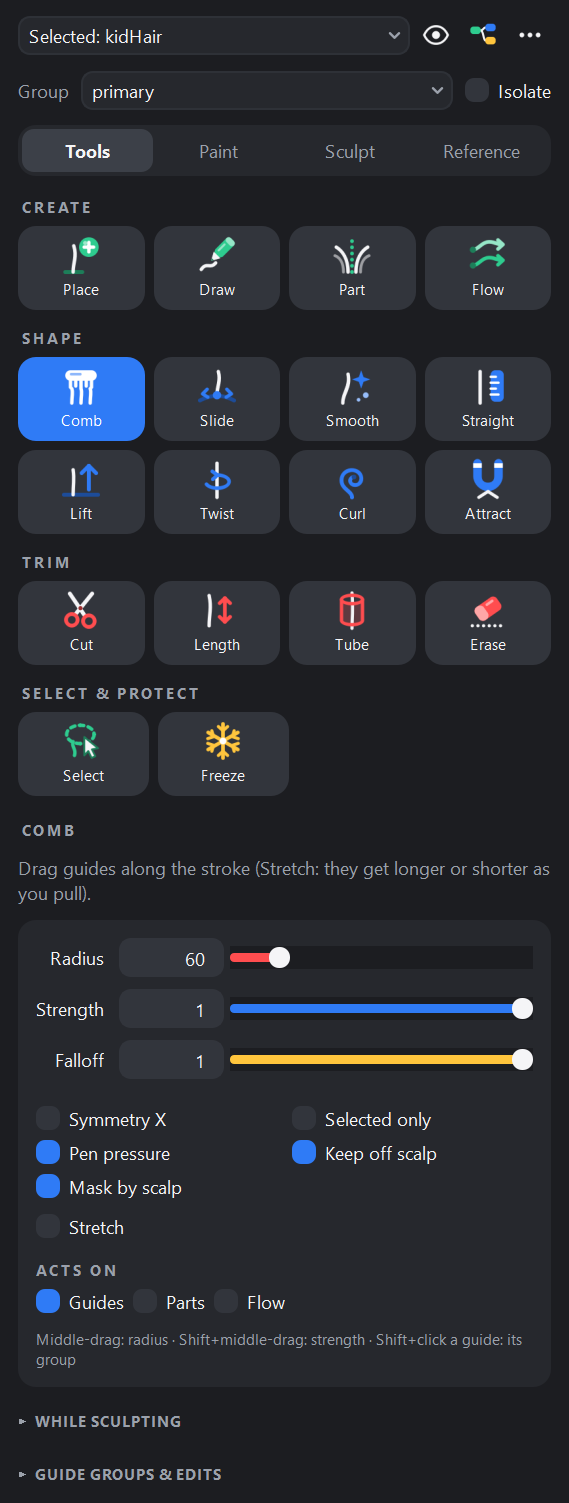
Keeping strokes where you mean them
- Keep off scalp: every brush keeps guides out of the scalp; points pushed under slide along it.
- Front facing only: a stroke never reaches what the head hides from the camera: guides, parts, flow arrows or paint on its far side.
- Falloff: 0 is hard to the brush's edge, 1 fades from the center out.
- Selected only: brush just the selected guides, weighted by the soft selection.
Selection
Select lassoes or clicks guides. Shift toggles, Ctrl deselects, Ctrl+Shift adds. The Selection box sets a Soft radius; Mirror Selection and Clear Selection are under Guide groups & edits.
Symmetry
- Keep it symmetric: turn on Symmetry X in the brush settings and every stroke is mirrored.
- Mirror a side: groom one side, then Mirror Group... or Sync +X → -X. Sync copies children, hand edits, locks and painted attributes too.
Parting
Pick Part and draw along the part on the scalp. Hair stops blending across the line, and a
Part node opens the gap (its width sets how far).
Short hair without guides
For vellus, brows and short fur, the Flow tool grooms a direction field: drag arrows on the scalp, click to place whorls or cowlicks. A Flow node lays strands along it.